💻 How I Built My Blog with Gatsby and Ghost
Feb 12, 2020 • 7 min • Development
At the risk of overdoing the “new year” narrative, it seemed that 2019 was a year of learning for me. I learned about travel, working on a team, and life outside of university. I also picked up a bunch of useful technical skills, many of which were related to front-end development.
I started with courses, books, and projects on the basics: HTML, CSS, and Javascript. After that, I moved into frameworks and got familiar with React and Gatsby.
It took longer than I would’ve liked, but eventually, I put those new skills to work. I’ve been blogging and hosting my website for some time, so that seemed like a great place to start! I’ll outline how I rebuilt my site from research to implementation.
Deciding on a tech stack
Early on, it became clear that I needed to make a decision on what technologies I wanted to use. Since a lot of my learning was focused on Javascript and React, I got started there.
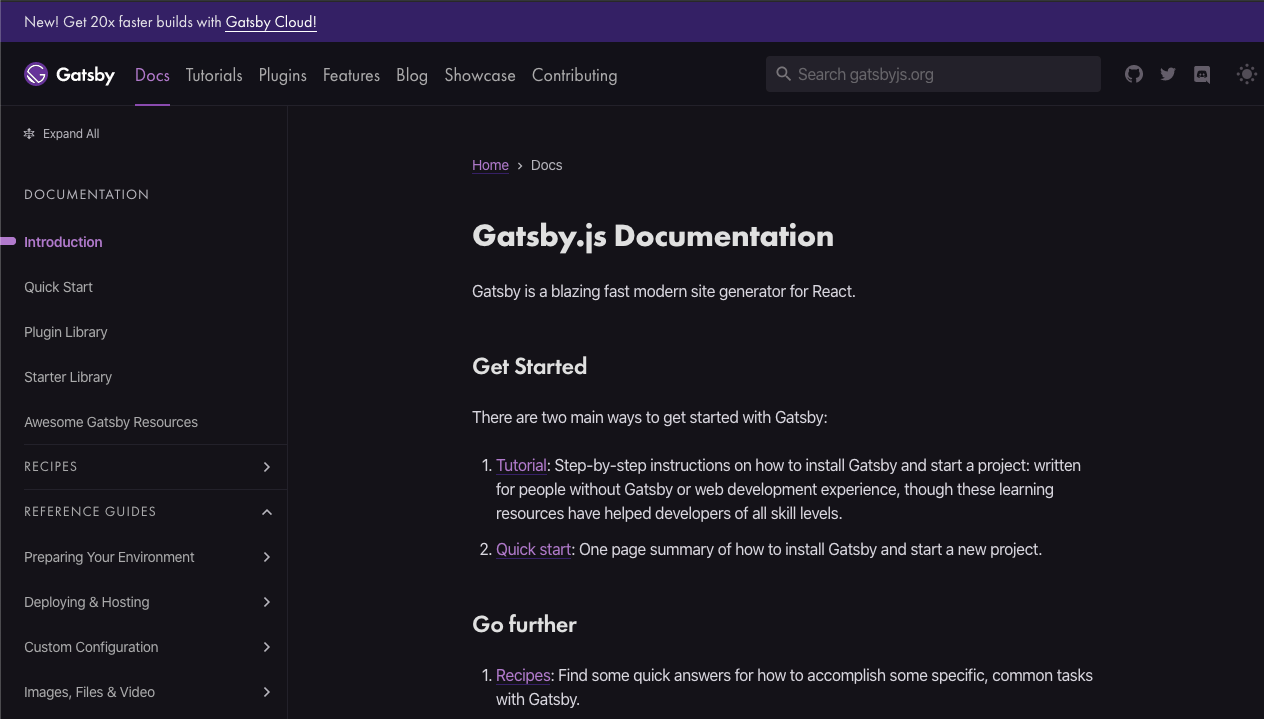
You might not need a static site generator, but man, they are nice. Considering the lightweight and well, static, nature of a personal blog, it made a lot of sense for me. Deciding which SSG to go with was a little more difficult. I was able to reduce my options to the most popular Javascript choices: Next.js and Gatsby. At the end of the day, Gatsby’s documentation and community swayed me.

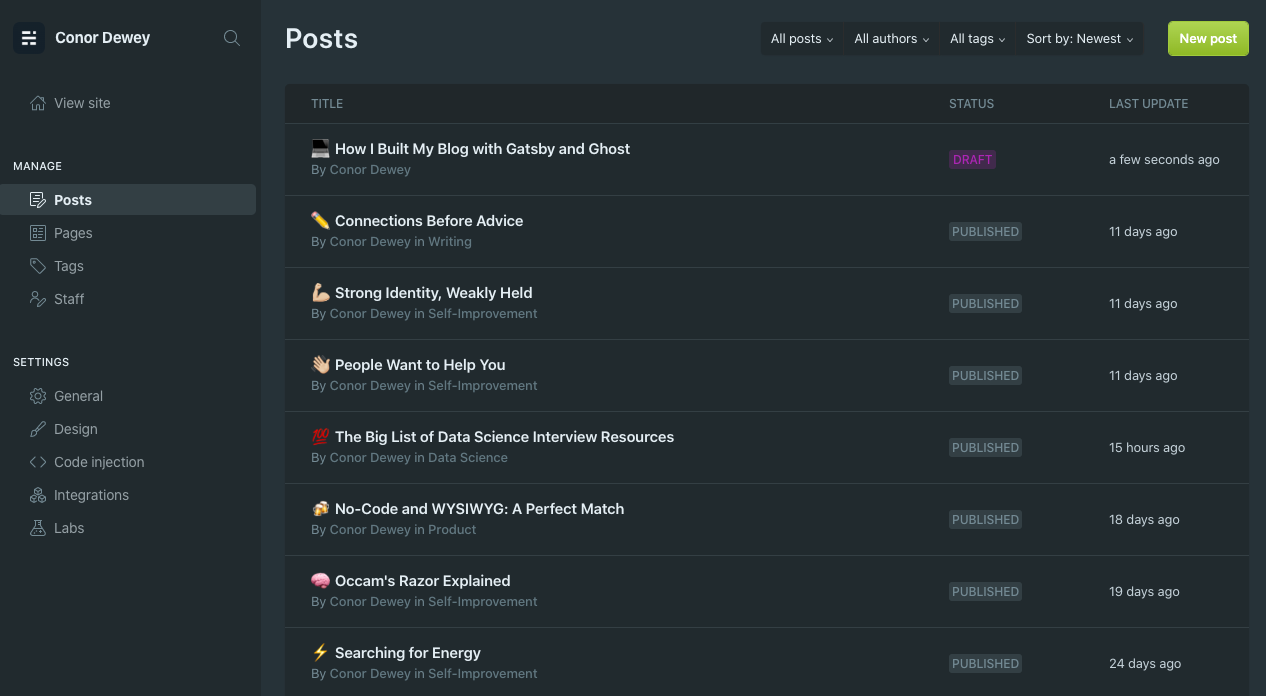
If you want to blog on a self-hosted site, there are a couple of options. You can write in Markdown and push the files to your repo manually, or use a CMS of some sort. Personally, I wanted to avoid using Markdown. Writing is hard enough as-is. For this reason, the CMS route was attractive. I still wanted to develop the front-end of my site by hand though, and I didn't want a clunky CMS running the show. Enter the headless CMS.
The headless content management system (CMS) is a back-end only, content repository that makes content accessible via an API.
This is cool for a number of reasons. First, it means decomposing my site into smaller pieces. In the future, I can swap things out as needed, since everything is connected by API calls. Second, it gives me full control of the front-end, while giving me a UI to write with. No Markdown files, no Wordpress, no problems.
I had heard great things about Ghost for this exact use case and was eager to try it out. Turns out, it didn't let me down!

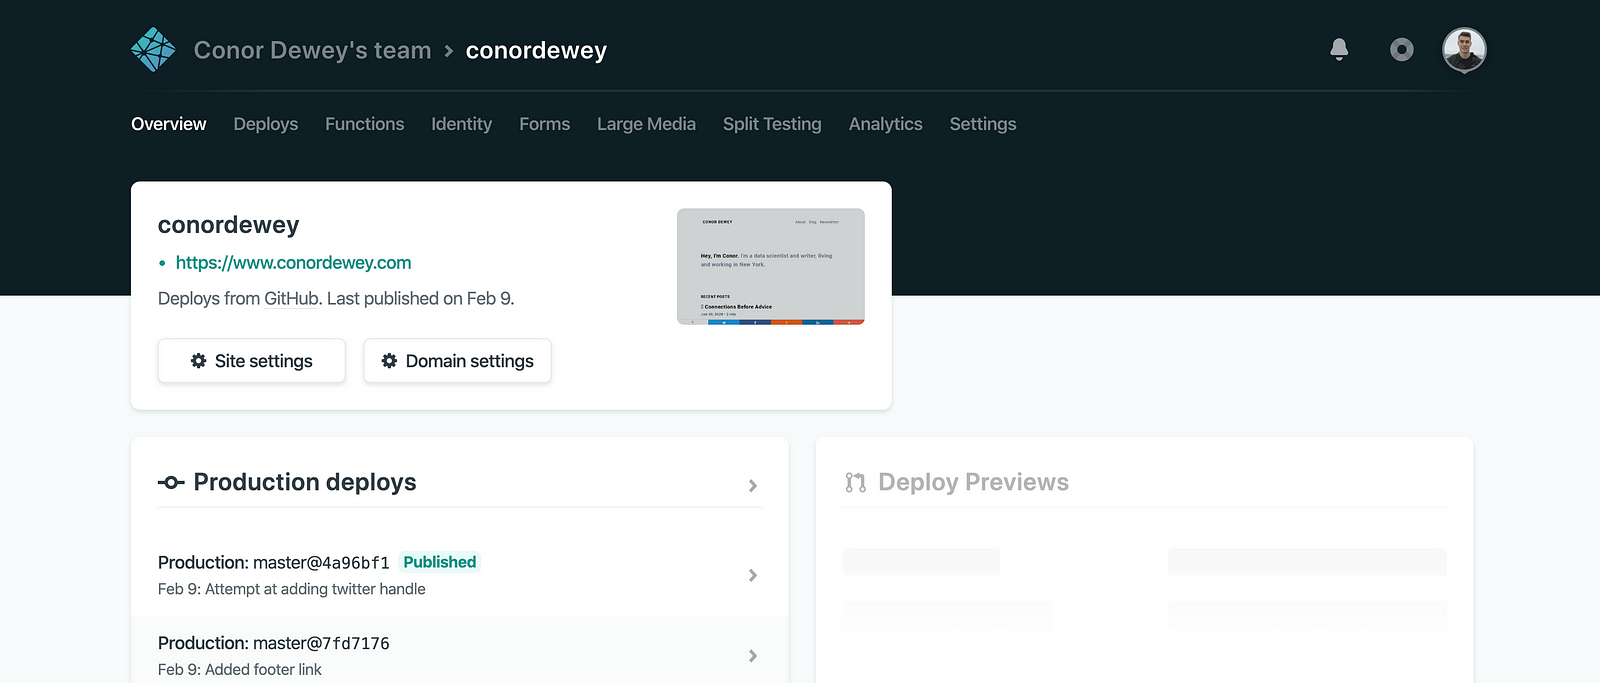
If you are talking about Gatsby and Ghost for blogging, Netlify is a natural fit on the deployment side of things. The all-in-one CI/CD solution is slick and easy to use. Netlify also hosts static sites for free so all I have to do is push my changes to a Git repo and they automatically build and are deployed. Easy as can be.

To use Ghost, you need a way to access the editor. There are a few options here. If you want an out-of-the-box solution, you can pay for Ghost Basic, which comes with hosting. This was a bit out of my price range at $29/month.
Other options? You can go somewhere else like DigitalOcean and host the Ghost editor on that for under $5/month. Or you can run Ghost locally using an SSH tunnel for free. The catch here is that you have to boot up the connection on your local computer in order to access the editor. For under $5 a month, I decided to go with self-hosting using DigitalOcean. Turns out, this is my only expense for my site and one that I’m more than willing to pay in order to remove friction from the writing process.
If you want to speed things up, you can also use a CDN with Ghost. This means that content is distributed across a network of servers so that when the client asks the Ghost API for data, it is received faster upon initial page load. I use Cloudinary for this, though quite frankly, I’m not sure how necessary it is.
That was a lot. Let’s recap the full tech stack I used:
Frontend: Gatsby as a static site generator that leverages React to produce Progressive Web Apps. It provides you with starter code and data splitting out-of-the-box. Gatsby loads only the critical HTML, CSS, data, and JavaScript so your site loads as fast as possible. Once loaded, Gatsby prefetches resources for other pages so clicking around the site feels incredibly fast.
Headless Content Management System (CMS): Ghost acts as a self-consuming, RESTful JSON API with decoupled admin client and front-end. In our case, we call on the Ghost API for the content of my blog posts and then use that data to fill out my site.
Hosting: DigitalOcean provides a server to host the Ghost editor. This isn’t necessary, but it lets me access the Ghost Editor any time I want and more importantly, it allows Netlify to access the Ghost API.
Deployment: Netlify is a cloud computing company that offers hosting and serverless backend services for static websites. It features continuous deployment from Git across a global application delivery network.
Content Delivery Network (CDN): Content from the Ghost API is hosted on my DigitalOcean server. Cloudinary distributes this content across a network of servers so that the call to my Ghost API for content is faster upon page load. Note that changes to my site are delivered across the Netlify CDN.
Gathering inspiration
Once I had a better understanding of my tech stack, it was time to decide what I wanted my site to be. What should it even look like? In my experience, these are difficult questions to tackle with a clean slate. I like to seek inspiration before starting a project. I took notes of dozens of personal sites that I liked. This list will look different for everyone, but these were the main reference points for me:
You might notice that my site looks similar to Jared Palmer's, and that’s not a coincidence! As a learning designer and developer, I work better finding completed work and using it as a jumping off point, rather than starting from scratch. I also drew inspiration from cool features on other sites that I liked:
- Drift Chatbot
- User Manual
- Musings
- Principles
- Things I’ve Built
- Public Goals
- Timezone
- Buy Me A Coffee
- People Page
- Newsletter Signup
The idea here is to roll around in inspiration from others for a while, then use that as a foundation to implement your own thing. Follow your intuition and stick to what’s best for your use case.
Finding a template
As I mentioned earlier, it’s difficult to start from scratch. Luckily, you don’t have to. There’s plenty of templates and already implemented sites out there to kick things off with.
Personally, I tried a couple different options. I started out with Gatsby Starter Ghost and was able to hook up the backend so that the client and Ghost were working as expected, but I found the design too restricting to iterate on easily.
Looking for a more lightweight option, I came across the Gatsby Starter Blog. This offered a much more bare-bones and easier to customize starting point, and seems like a great fit. The one catch was that it wasn’t already set-up with Ghost integration, but that isn’t too hard.
So I have my starter site. I have a great example in Jared Palmer’s site, with plenty of other secondary inspiration playing a role as well. What’s next? Well, we have to build the thing!
Getting set up
I won't go into too much detail on the implementation side of things, but I will link to the tutorials that I found the most helpful while building things out. Roughly ordered by relevance, these are the resources that made my life way easier getting set up:
- Everything it takes to self-host a Ghost blog with DigitalOcean
- Build a JAMstack Personal Blog with Headless Ghost CMS & Gatsby
- Step by Step: Setting Up Ghost with a Digital Ocean Droplet
- Building a blazing fast self-hosted blog for free article
I'm pretty happy with how things have gone. I learned a lot along the way and ended up with a site that doesn't look too bad! In the end, it took me a weekend or two of some late nights to get things just the way I wanted, but it was well worth it. I hope you have a similar positive experience, best of luck!
Thanks for reading! If you enjoyed this post and you’re feeling generous, perhaps follow me on Twitter. You can also subscribe in the form below to get future posts like this one straight to your inbox. 🔥